Most "cinematic iPhone" tutorials end the same way: shoot RAW, import to Lightroom, spend forty minutes nudging curves, export, second-guess the export, start over. That works. It's also the reason half my camera roll stays unposted — the edit never feels finished.
The look you're chasing usually isn't "more processing." It's a handful of things movies do by default: controlled contrast, a color story that holds together, a bit of atmosphere, and framing that leaves room to breathe. You can get most of that before you tap share, without opening an editor at all.
This is the workflow I actually use when I'm walking somewhere and want photos that feel like stills from a film — not a grade I'm still tweaking at midnight.
What "Cinematic" Means on a Phone
Forget the word for a second. When people say a phone photo looks cinematic, they usually mean one or more of these:
- Moody contrast — deep shadows that aren't crushed to pure black, highlights that roll off instead of clipping hard.
- A color direction — warm amber interiors, cold blue night exteriors, green pushed down in skin tones. One dominant feeling, not every color fighting for attention.
- Texture — subtle grain, softer micro-contrast, the sense that the image passed through something physical (film, a lens, a LUT) even when it didn't.
- Composition with intent — negative space, a clear subject, lines that lead somewhere. Cinema rarely fills every pixel.
The iPhone's default camera is tuned for clarity and punch — bright, sharp, shareable. That's great for documentation. It's working against you if you want something that feels like a frame from Blade Runner 2049 or a Wong Kar-wai hallway.
You don't fix that only in post. You fix it by choosing light, exposure, and a look at capture time.
Shoot for the Grade You Want
Expose for the shadows (a little)
Tap to focus, then drag the exposure slider down slightly — especially in mixed light. A diner at night, a gas station awning, someone standing in a doorway: if you protect the highlights and let the shadows sit darker, you get that weighted, deliberate feeling straight out of the camera.
Don't go too far. iPhone shadows get noisy fast. You're aiming for "intentionally underexposed," not "where did the face go."
Shoot when the light is already doing work
The boring truth: cinematic phone photos are mostly a scheduling problem.
- Golden hour — twenty minutes before sunset. Long shadows, warm skin, sky gradients that don't need help.
- Blue hour — streetlights on, sky still has color. This is when city scenes start looking like frames instead of snapshots.
- Window light indoors — side light across a face or a table. Turn off overhead fluorescents if you can; they flatten everything.
- Single-source practicals — one lamp, one neon sign, one screen glow. Multiple competing light colors are hard to make feel cohesive without editing.
If the scene is flat at noon in direct sun, no filter saves it completely. Move to shade, wait an hour, or shoot something else.
Turn off what fights the look
In Settings → Camera, I leave Smart HDR on for everyday shots but switch to a third-party camera app when I want a specific look — partly because I can pick a filter before I shoot, partly because I don't want the phone aggressively lifting shadows I deliberately kept dark.
Also: skip digital zoom. The soft mush at 5× isn't "vintage." It's just mush.
Framing Tricks That Cost Nothing
Filters handle color. You handle geometry.
- Leave empty space. Put your subject off-center and let the rest of the frame breathe. Movies use wide shots constantly; Instagram trains us to fill the square.
- Shoot through something. A window edge, a fence, out-of-focus foreground. Layers read as "deliberate" even on a phone sensor.
- Get lower or higher. Eye-level is the default for a reason — because everyone shoots from there. One step down turns a sidewalk into a leading line.
- Lock exposure on the subject, not the sky. A bright sky as gray backdrop beats a blown-out sky every time.
Quick check before you shoot: if you cropped this to 2.39:1 in your head and it still feels empty and boring, move your feet. No filter fixes a dead composition.
Pick One Color Story and Commit
Cinema color isn't random. Night exteriors drift teal. Warm interiors push amber. Period pieces mute greens. You don't need a color theory degree — you need consistency within a single outing.
If you're walking at blue hour, lean into cool tones for the whole set. If you're in a wood-paneled bar with tungsten bulbs, don't switch to a cold filter halfway through because it looked cool on someone else's feed. Mixed color stories are exactly where "I'll fix it in Lightroom" starts.
This is where shooting with a filter already applied helps more than people admit. You see the final mood on screen while you're framing, not after you've taken thirty normal-looking shots and lost the thread.
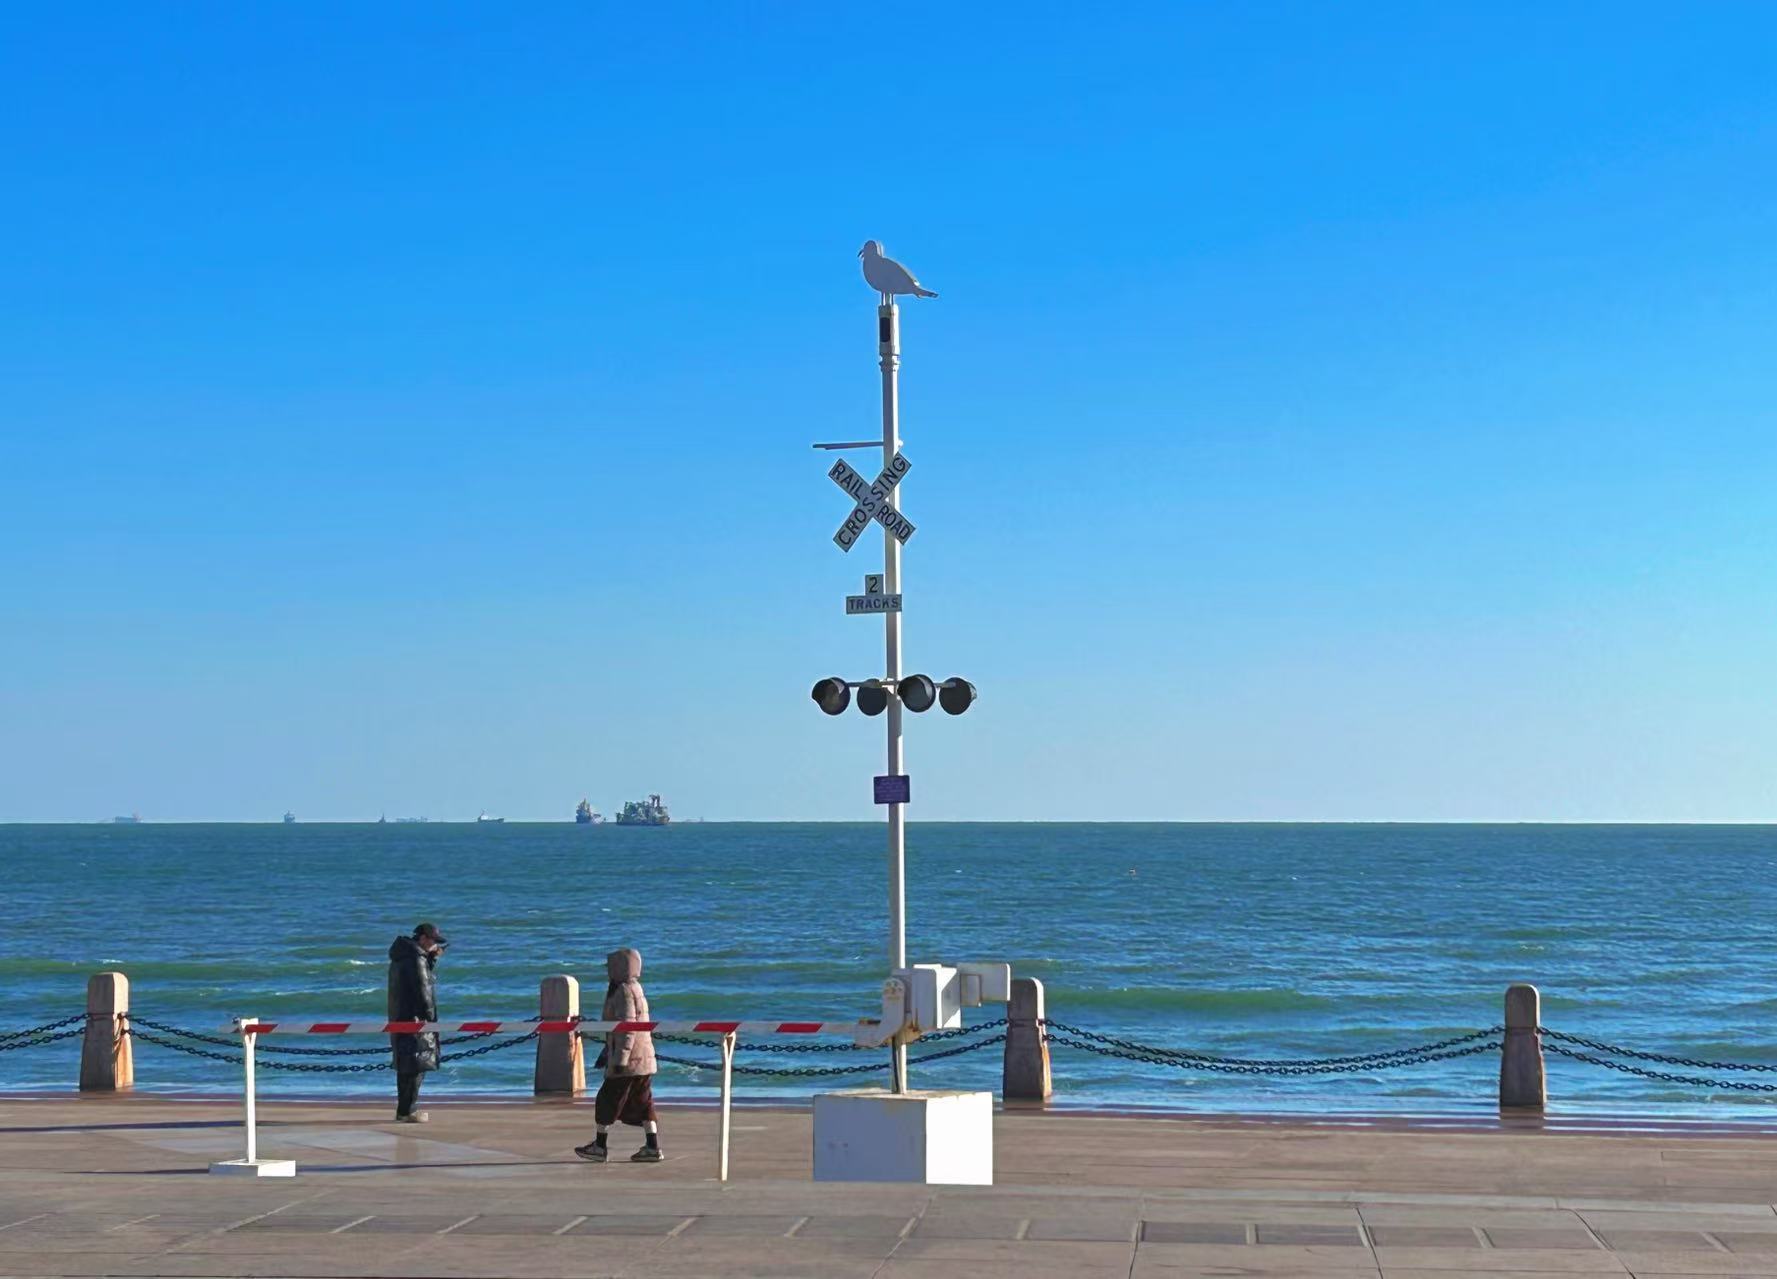
Film Looks Without a Darkroom
You can approximate classic film stocks without touching sliders:
- Daylight, slightly overcast — muted contrast, soft pastels. Fuji-style chromatic looks sit well here.
- Harsh midday sun — lean vintage: lifted blacks, faded highlights, a bit of grain. Hides the hard shadows instead of fighting them.
- Neon and rain — push saturation in controlled pockets, not globally. Blue Tone–style grades work when there's already blue light in the scene.
- Portraits near windows — skin-first filters that warm cheeks without turning the whole image orange. Backlit subjects benefit most.
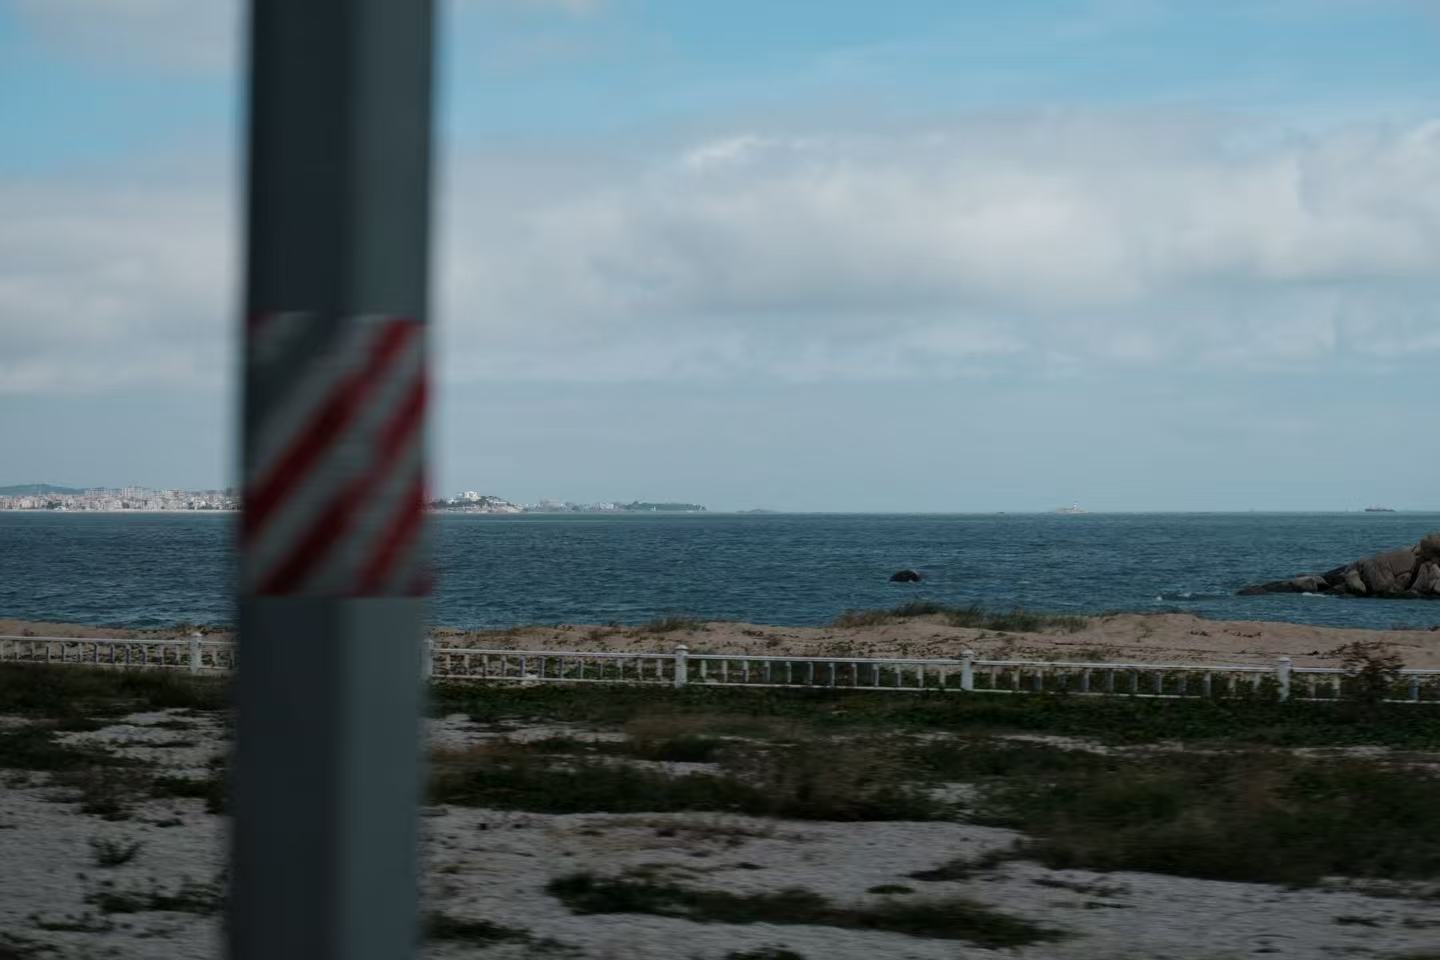
Match the filter family to the light you have, not the light you wish you had. That's the whole game.
One-Tap Filters vs. Editing Later
I'm not anti-Lightroom. I use it for client work and for photos that need masking, healing, or selective adjustments. But for personal shots — travel, street, dinner, portraits of friends — the edit-to-post gap kills momentum.
A good capture-time filter does three things editing does worse on a phone:
- Preview the final image while composing. You adjust framing and exposure to the grade, not to a flat JPEG you'll "make cinematic" later.
- Keep a consistent set. Ten photos from the same walk share the same palette without batch presets and sync headaches.
- Stay off the cloud. If the filter runs on-device, your photos aren't uploaded for server-side processing. That matters more than people think when you're shooting in private spaces.
We built EUCam around that idea — film-direct filters applied at capture or on existing shots, one tap, processed locally on your phone. Cinematic grades, classic film emulations (CineStill 800T, Fuji Chromatics, Agfa Vista among others), portrait and food-specific looks. No account, no upload pipeline, no "send to our AI cloud" step.
It's the app I reach for when I want the photo to feel finished the moment I lower the phone — not when I've found a flat surface and opened three apps.

A Minimal Workflow That Holds Up
Here's the stripped-down version I come back to:
- Scout light first. If it's ugly, change location or time — don't collect problems.
- Pick one look for the outing and stick with it. Switch filters between shots only if the light genuinely changed (day → night, indoor → outdoor).
- Underexpose slightly in high-contrast scenes. Protect highlights.
- Compose with space. Off-center subject, clean background, one clear layer of depth if possible.
- Shoot, review at arm's length, done. If it reads at phone size, it's good enough to post. Pixel-peeping on a 6-inch screen is how albums stall.
That's it. No sync folders, no preset packs, no "final_final_v3" exports.
When You Still Need an Editor
Be honest about the ceiling. One-tap looks won't:
- Remove a distracting sign or passerby cleanly
- Fix blown highlights that are genuinely clipped to white
- Rescue a photo shot in terrible light just because the filter is good
- Replace thoughtful composition with software
If you need local adjustments — lifting one face in a backlit group, straightening verticals in architecture, blending exposures — use Lightroom or Darkroom. The cinematic phone workflow isn't "never edit." It's "don't require editing for the photo to feel intentional."